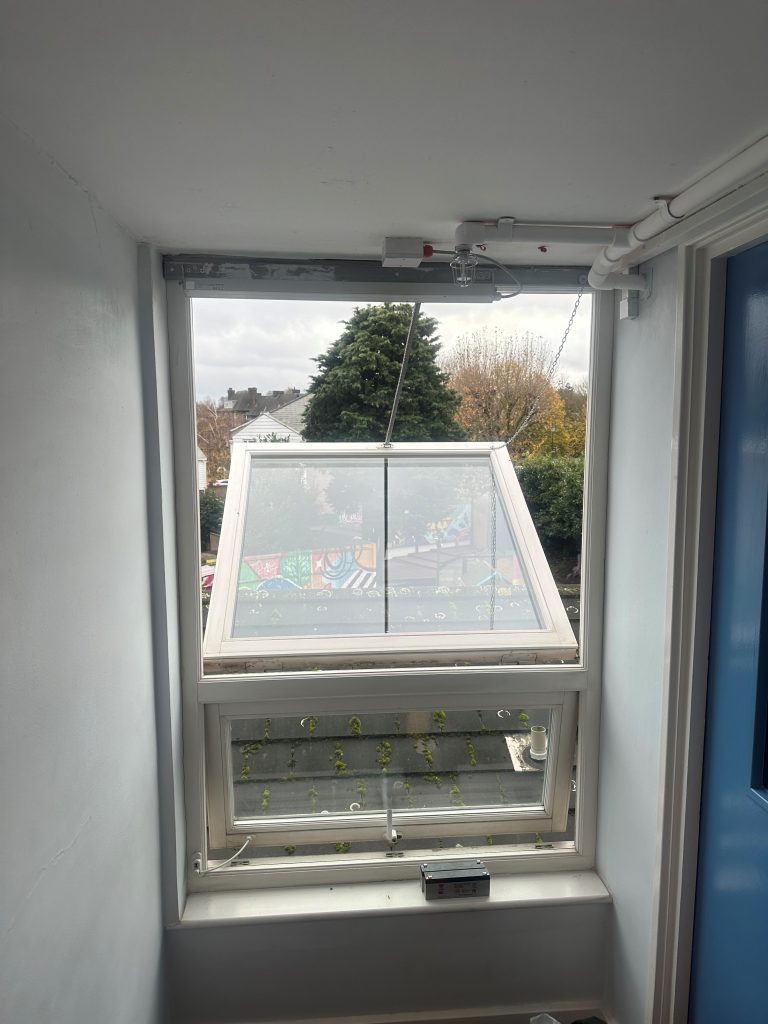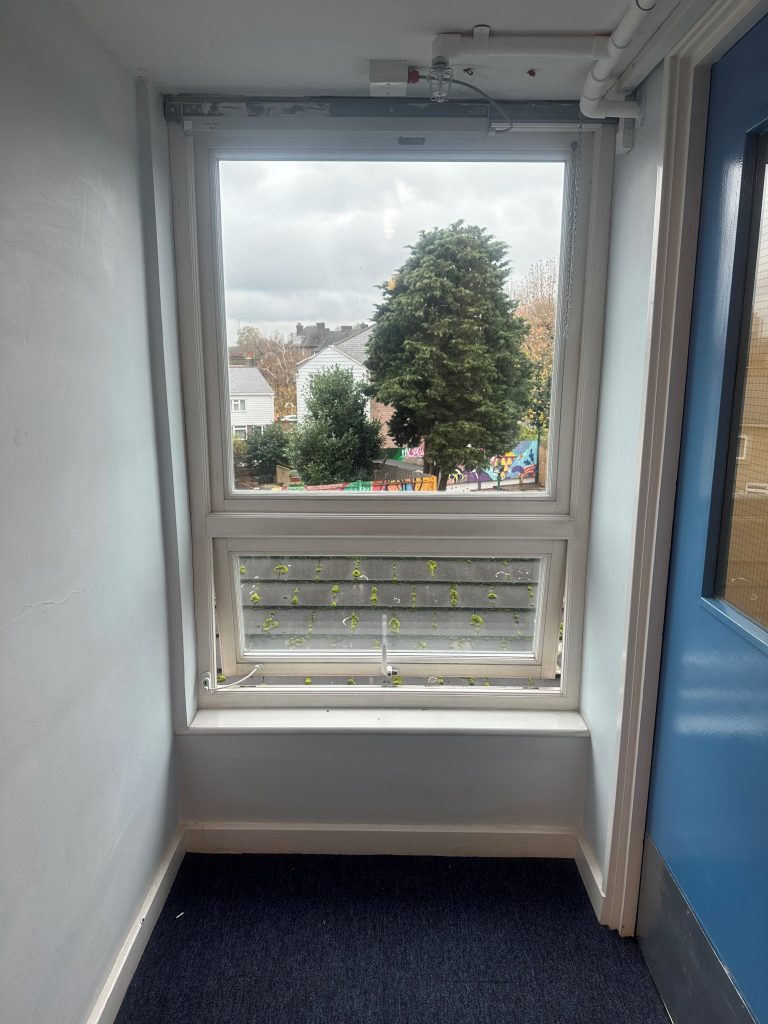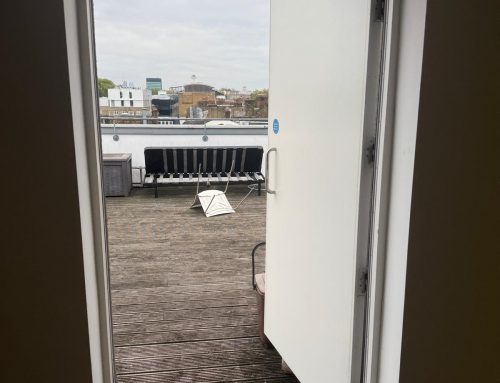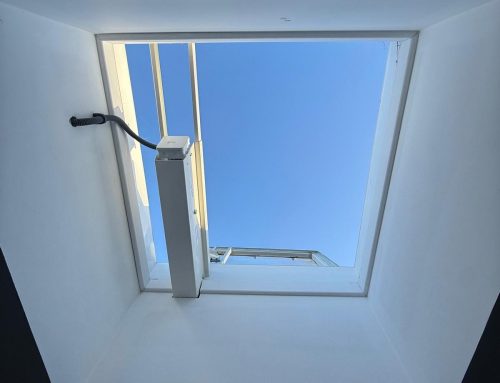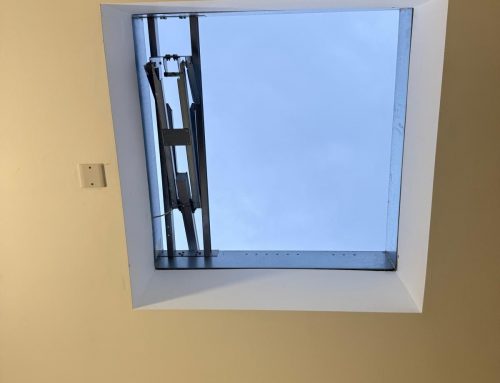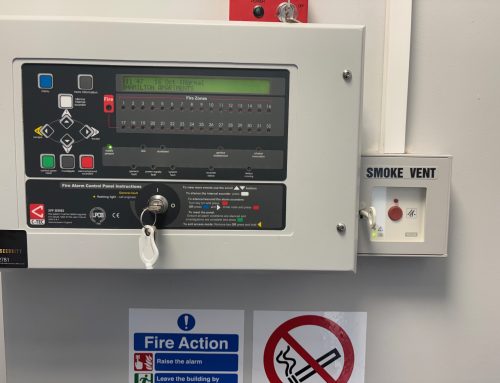
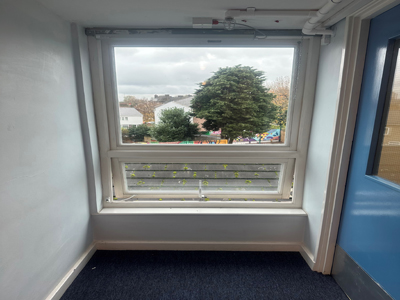
This AOV system in a block of flats Bromley South London had failed a test during maintenance testing. The actuator component had failed meaning the mechanism that opens the window would not function. We ordered a new part for the AOV and performed the following:
- Safety First:
- Ensure the AOV system is turned off before starting any replacement work.
- Use appropriate personal protective equipment (PPE), such as gloves and safety glasses.
- Identify the Actuator:
- Locate the AOV actuator on your ventilation system. It is typically connected to the AOV window or vent.
- Disconnect Power:
- Turn off the power supply to the AOV system to ensure safety during replacement.
- Remove the Old Actuator:
- Unmount or detach the existing actuator from the AOV window or vent. This may involve removing screws or other fasteners.
- Disconnect Wiring:
- Carefully disconnect any wiring connected to the old actuator. Take note of the wiring configuration to ensure correct installation of the new actuator.
- Install the New Actuator:
- Position the new actuator in place and secure it to the AOV window or vent using the appropriate fasteners.
- Reconnect the wiring according to the manufacturer’s instructions.
- Test the Replacement:
- Turn on the power to the AOV system.
- Test the functionality of the new actuator by activating the AOV system. Ensure that the window or vent opens and closes smoothly.